WHAT IS A FULL ABDOMEN ADJUSTMENT?
Ever struggled with getting patterns to fit a fuller abdomen/thicker waistline than patterns usually are drafted for? The full abdomen pattern adjustment (or, in my case, postpartum tummy adjustment!) adds more fabric to your pattern to cover the stomach area more comfortably. It adds volume for smoother fit to the body’s contours and more comfort.
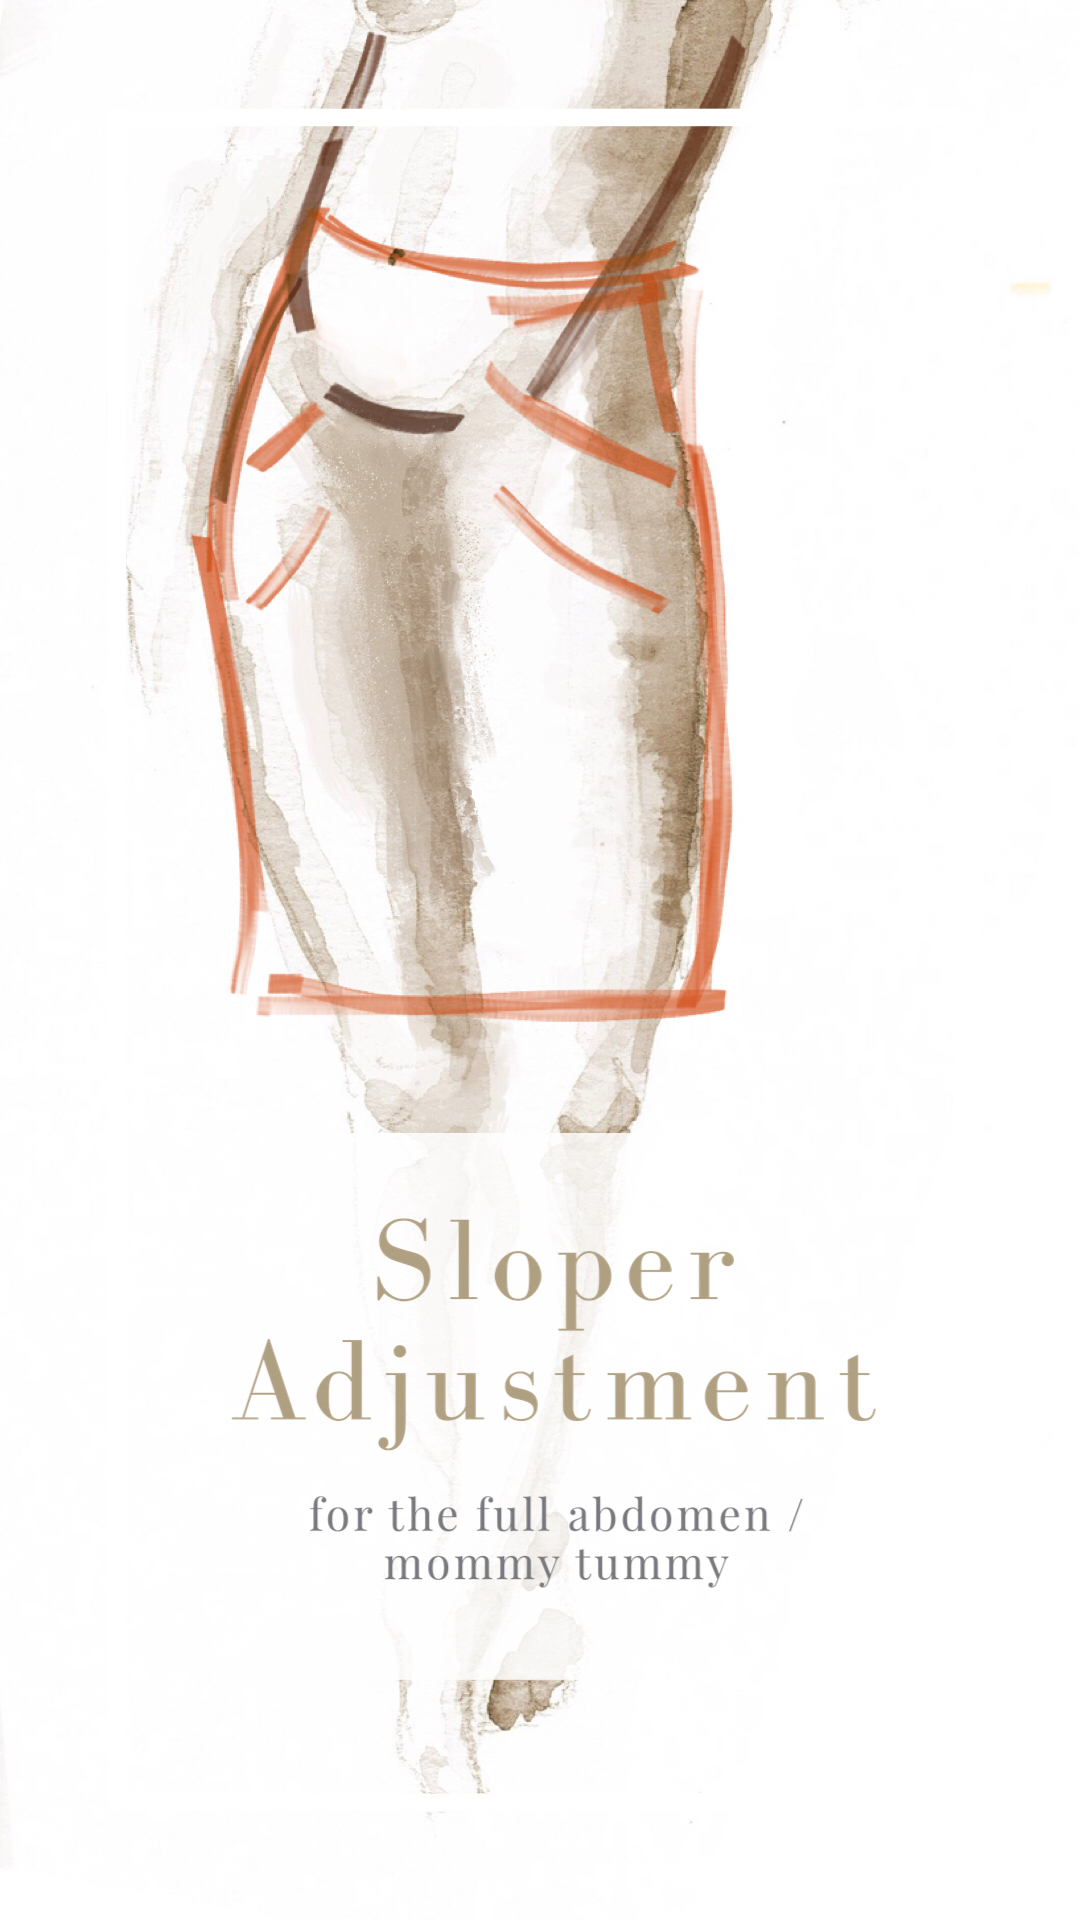
I always have struggled with waistlines and the front abdominal area, and since my second pregnancy, my mommy tummy is more pronounced than it used to be. I really struggle with ready to wear sizing for the same reason – they just aren’t made for my body type, which is more like this (on my shiny new fancy croquis I painted!):


My body proportions lack waistline definition but also have a somewhat narrow hip structure, which causes a few special fitting issues that might be familiar to anyone with a full tummy area:
-waistbands dig in or won’t close if pants or skirts fit at the hip
-the belly pushes the front of clothing downward to settle below the belly, where it cuts in and exaggerates the curve of the belly in an unflattering way
-waistbands ride up or fall down if the garment fits at the waist because the lower body doesn’t fill out and provide resistance against the fabric at the high hip and full hip to help hold it in place.
To show this from the side view:


If you have similar fitting issues when sewing and/or discomfort in ready to wear, you might find that a full abdomen adjustment really helps. What follows is what works for me, and is kind of a Frankenstein method using bits and pieces from all the tutorials I’ve tried. So far, this combination of approaches has been the most successful for me and I’ll be doing a future blog to document how I apply it to a pants sloper, too. I claim no expertise on fitting, but am sharing this in the hope that it will help other sewists to get a better fit with less trial and error and less wasted sewing time and fabric.
So where to begin?
START WITH BODY MEASUREMENTS
At a minimum, you need your waist measurement (taken at the narrowest point of your torso, usually even with the elbow) and your low hip (sometimes called full hip) measurement, which measures your hips and buttocks at the fullest point. Usually the low hip is 8.5″ below the waist.
The usual approaches are to choose the pattern based on at least one of these measurements, adjusting to fit the other measurement if needed, but this doesn’t work as well with a full abdomen. Simply choosing a larger size adds to the front and back waistline evenly, which misaligns the side seam and loses waist shaping in back.
If you choose the size that fits your body at the waist and then reduce the pattern width to fit at the hips, you then lose the darted fit of the back pattern and will require adjustments there. Also with skirts this reduction at the hips strategy may work fine, but for pants it becomes more complicated. If you choose a size to fit the waist, then the proportions at the hip are going to be larger than your body. The leg proportions are probably smaller than those of the pattern, and then the complicated intersection of body segments happening at the crotch is going to be thrown off.
The other usual approach is to fit the body at hip, then slash and spread to expand at waist. While this works better, and fitting the bone structures (hip) and modifying to fit the soft tissue areas (the waist) is my preferred way to fit, this involves trial and error from the very start. I hate sewing more toiles/muslins than I have to.
The best approach, i think, is to measure the body in halves. Doing this allows you to analyze the distribution of mass on your figure more accurately, and to adjust only where needed.
One way to do this is to mark your side seam on the body on both sides, using something that won’t shift like tape or eyeliner pencil, and measure the back and front halves of the body separately. While the conventional pattern selection wisdom would have you choose the pattern based on your whole body measurement, but this approach to a full abdomen Then choose the size that fits each best, matching them at the the low hip and adjusting the side seam lengths to match. This preserves the fit of the back pattern and allows for more isolated adjustments where they are needed on the body.
With a full abdomen adjustment, there is another consideration when adapting the pattern to your measurements: the high hip (4-4.5″ below the waistline, approximately midway between your narrowest point at the waist and the low hip). This measurement can be fuller than the low hip, especially if you have narrow hips, as I do. For a sloper, which you want to fit closely to the body, it may seem desirable to match the body measurements exactly at the low hip to hug the body.
However, this is not flattering in actual garments unless the design is intended to emphasize the curvature of the lower stomach. For skirts and pants, it is usually far more flattering to skim over this curve rather than hugging it with fabric. so you’ll want to measure straight down from the low belly. Maria Denmark has a tutorial that illustrates how to do this beautifully (here).
Another trick to do this without a toile or slashing and spreading the pattern is to take measurements differently at the full hip. Hold a ruler vertically flat against the lower belly, to extend a smooth line down to the full hip area to show you where to measure. It adds a little extra ease at the front full hip to skim the body instead of hugging up into the curve.
CHOOSE TWO PATTERN SIZES TO FIT FRONT AND BACK SEPARATELY
To choose sizes will require measuring the flat pattern or some math to figure out which size best matches each half of the body. Skirt and pants have very little ease at the waist, since they rely on a tight fit here to anchor the garment in place. So you’ll be choosing the pattern pieces that come closest to your body measurements plus approximately 1/2″ of ease for movement. If you’re measuring a pattern piece, remember not to include seam allowances, omit the dart intake, and remember to double the measurement if you have to cut two of the piece. (For example, if your front pattern piece says cut two on the fold, measure the piece (leaving out the seam allowance and space inside the dart legs) and multiply it by two, then compare to your body measurement plus half the pattern ease.)
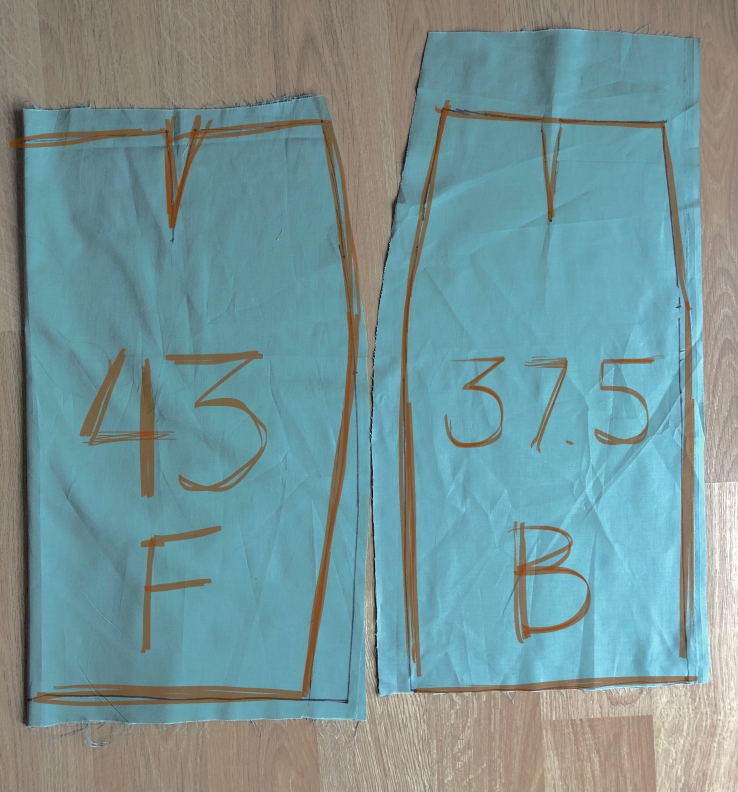
To give an example, here’s how pattern selection worked for me and my measurements (approx. 31″ waist, 39″ high hip, 37.5″ low hip):
My sloper pattern had half an inch of ease included and the side seam shifted 1/2” total toward the back. This seam shift isn’t terribly crucial, but is in theory the industry standard; if I were doing this again, I’d feel free to ignore it, but in this experiment, I was being as precise as I could.
So I chose the size equal to my back waist measurement minus the seam shift (-1/2”) plus half the pattern’s ease (+1/4”), so body measurement minus 1/4”. This worked out to be the 37.5” size, which matched up to the size I needed at the low hip in back as well. So my back proportions matched the standard pattern almost exactly.
In the front, though, my proportions are very different than the pattern proportions. My waist and high hip measurement aligns best to the 43″ size. The low hip doesn’t match up to my body measurement but is pretty close to my measurement taken with a ruler held straight down from my abdomen (as discussed above, wanting to skim rather than encase that curve).

ADJUSTING THE PATTERN
If this had been a typical pattern, the side seams of the front would be longer than the back. to fix this, i would align them at the low hip and trim away the excess from the top and bottom, also curving the waist slightly upward at the center if needed to give a little more vertical coverage over my belly.
To test the fit, I did a pin fitting first. I pinned the darts closed, pinned the side seams, slipped the garment on, then pinned the garment closed at what would be the zipper at the center back seam to simulate wearing it, so that if I need to adjust, I don’t have to seam rip and can adjust as I wear it.
By doing the math and measurements of body front and back separately first instead of slashing and spreading a muslin/toile version, I have a much better fit from the beginning with less work. the fit works perfectly at the waist and high hip. I have the close fit I want in back and my side seam hangs evenly at waist and high hip.
There is one further adjustment needed, though. since the front of my actual body is only wider than the back at the high hip. Since my back and front are the same size at the mid thigh or knee, the extra room isn’t needed there, and this extra space in the bottom of the skirt really throws off the hang and the side seams at the hem.

To fix it, I laid the back pattern piece on the front, matching them up at the vertical line of center front/center back. At the low thigh/just above the knee I marked the width of the back piece. I want them to match here, approximately, remembering the slight seam shift adds 1/4” of width to each side of the front pattern piece. Then I use the pattern piece to redraw a smooth curve all the way up to the full hip of the front pattern.

This isn’t perfect, because the grain line of the outer seam of the front is now more on the bias than the back, but this could be dealt with by cutting the front in two pieces and realigning the grain to the side seam for future garments.
Here are my final sloper pieces after all adjustments:
And that’s it! I hope this is helpful, and I’d love to hear your tips and tricks and experiences dealing with this fit issue. Please forgive my wrinkly fabric. It’s cotton, and though it was pressed prior to shooting these pictures, my kiddos Godzilla anything on the floor:

I’ll be posting lots more on fitting issues, body proportions, and sloper adjustments as part of a wardrobe overhaul project I’m undertaking as we launch headlong into a new decade. 🙂 Happy New Year! Hope your holiday season was joyous and that Santa brought you all the pretty fabric,
-Amanda