Amid the frustrations of work today, I decided to do a little sewing machine tinkering to get my zen mindfulness on. There’s something about brushing out the dust, oiling and waxing these old things that mellows me out. Industrial chemical fumes perhaps? I really should buy myself a facemask one of these days.
My project for the day was this ebay find, which of course came with a beautiful wood base that was utterly demolished in transit because people seem to forget that antique wood is fragile and sewing machines are heavy and the postal service is not big on delicate handling of the bajillions of packages it throws around each day. However, it’s still an awesome machine.
The Improved Eldredge Rotary B. (This is before I cleaned it.)
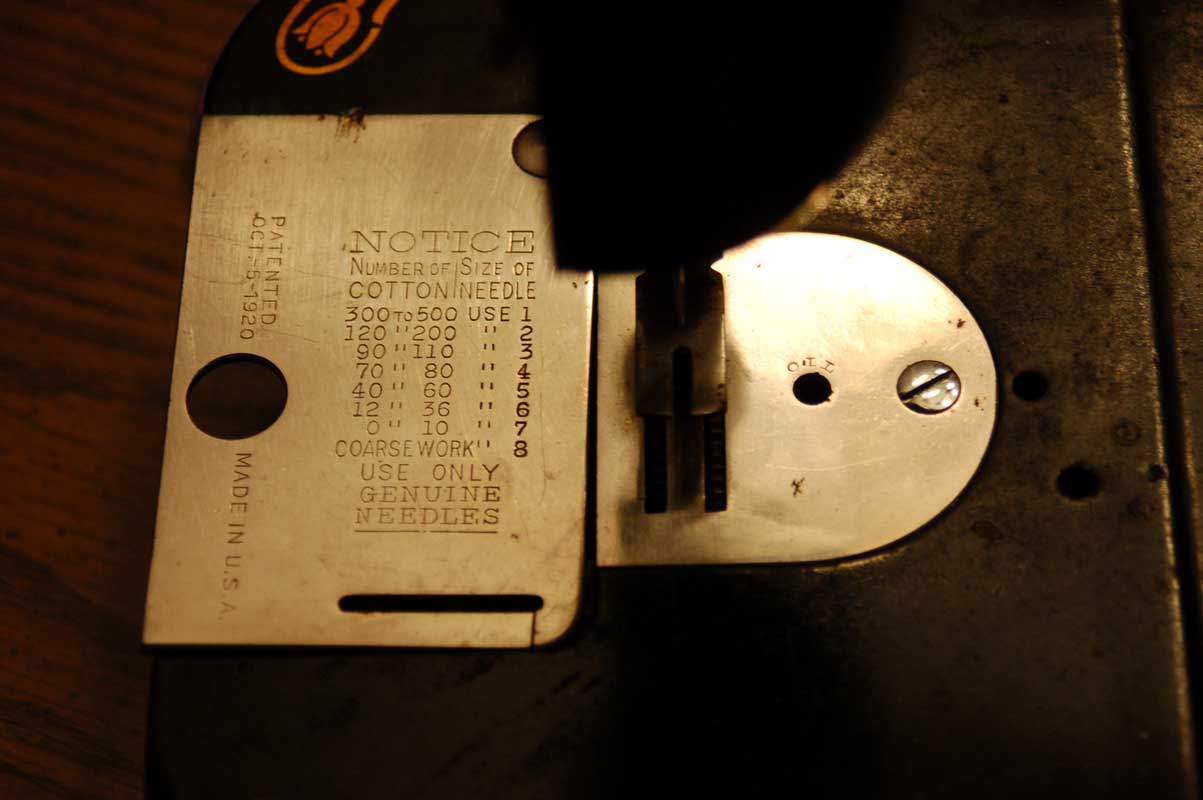
 It takes unusual 20×1 needles, of course, being of the era (30s?) when every sewing machine company sold needles for their machines. The needle is similar to the modern 15×1 system, though, in that it’s flattened on one side. (If I *really* wanted to, I could probably put a standard needle in but not push it all the way up into place and make it work, though it wouldn’t be as stable as it should.)

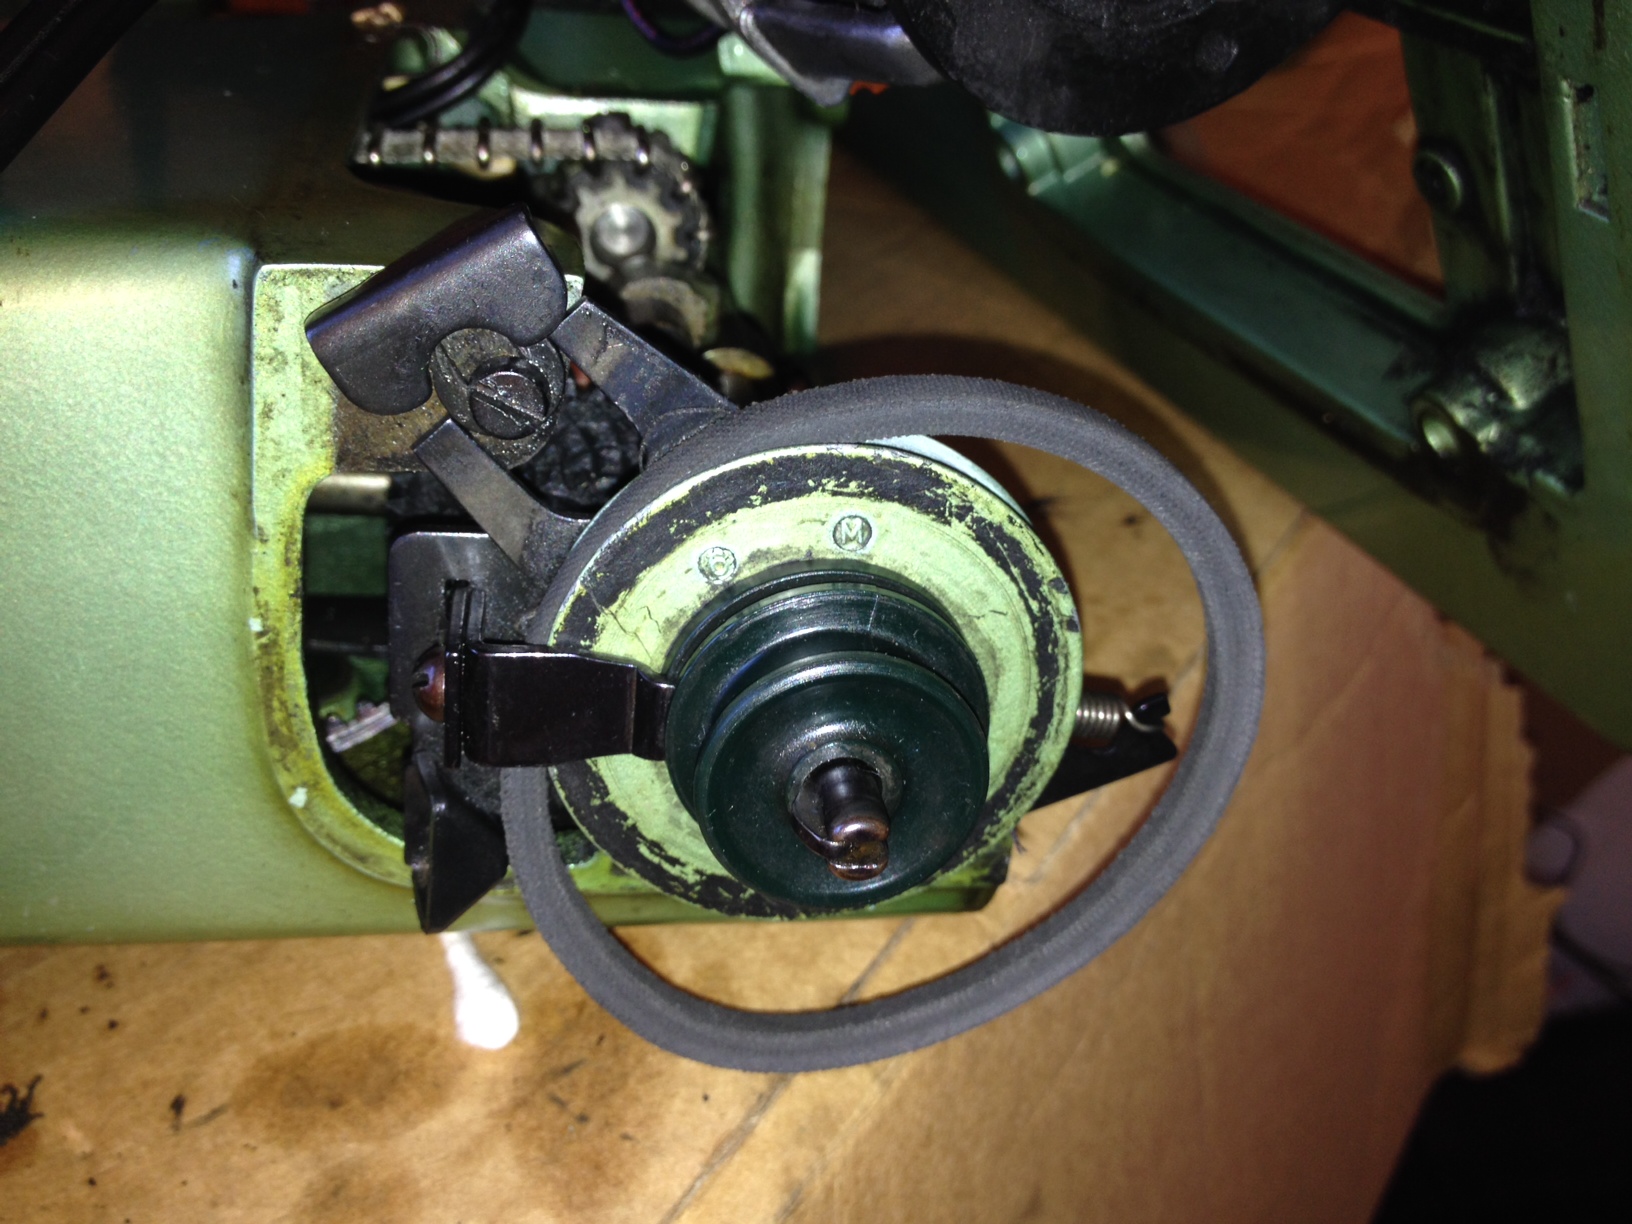
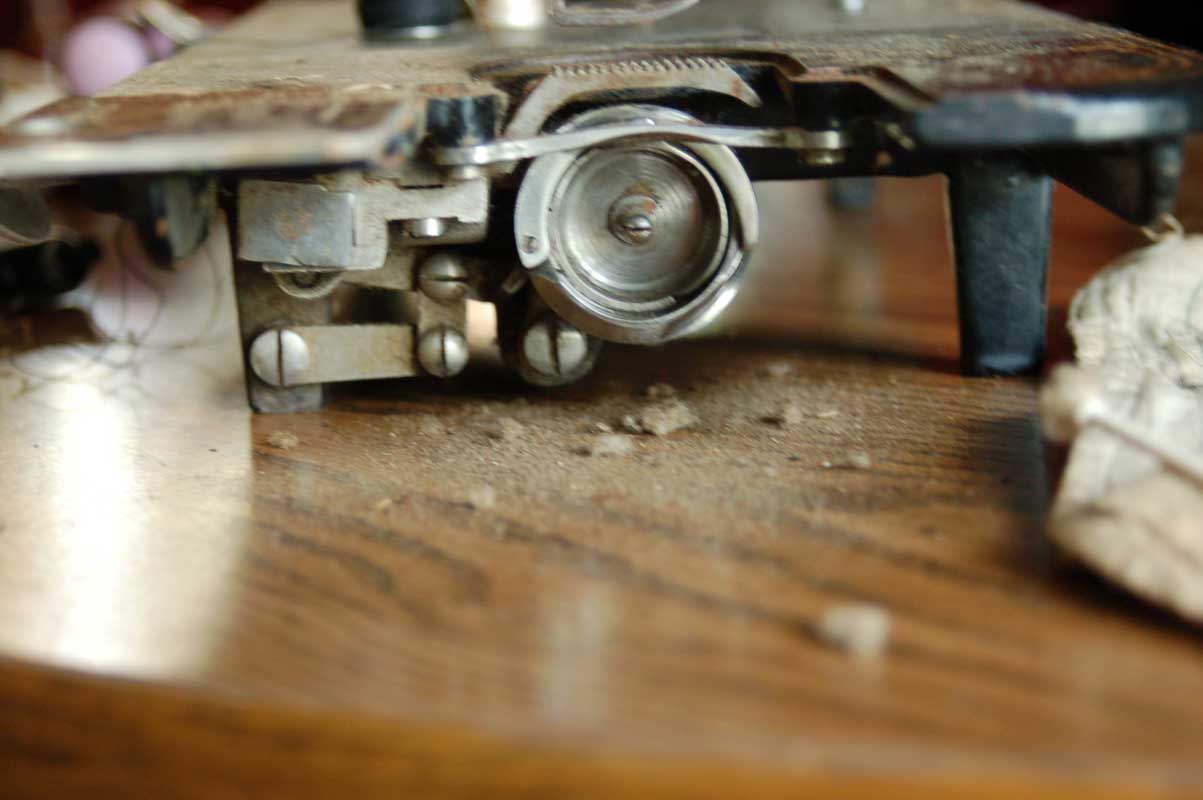
It has a friction drive motor, which isn’t all that unusual (some other machines like Whites and mid-century Elnas have these too) but it’s actually built or snugly wedged into the body rather than mounted on it. So far I can’t see any way to remove it. It also has the unusual Chicago post electrical set up. The foot pedal and sketchy cord that go with it were also demolished during shipping, not that I’d have trusted them anyway. But that will be a scary rewiring job, if I try it at all, because I’m very newb at electrical systems and the Chicago ones aren’t polarized and I don’t yet know what that means for rewiring a machine. (And this machine wasn’t intended as a workhorse so I don’t have to have it running to enjoy it, exactly; I bought it because of the art deco styling and its idiosyncracies.)
It was so, so, so dirty.


But it cleans up nicely!


The threading is unique. I have another older Eldredge and both have more steps than most to thread them, but once threaded correctly the stitch was very nice and even, especially since I was turning the machine by hand. The stitches have an interesting antiqued look because of the dirty, probably 60+ year old thread in the bobbin and the tarnish on the presser foot. There’s something about that patina of age I like–I’m not as intrigued by machines that look new as I am by machines that have a history to them. (Same thing with faces, oddly enough–the older I get the more bored I become with straightforward beauty. It seems so blank, so simplistic; I enjoy looking at faces with more of a story told in them. Interesting how one’s ideals about beauty and aesthetic appeal change over time.)
This blog post (here) links to a complete manual (bless you, Anne Graham, for posting it because I’d have never threaded it otherwise.) And it also links to a source for needles, bobbins and bobbin cases (here), which is incredibly helpful for machines this old and scarce.
So for a clean and oil job, I’m pretty happy, but there is still some tightness I’d like to work out, and this plug/wiring system is a problem to puzzle over too…